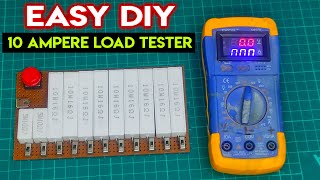
Duration 2:57
How to Calibrate ZB2L3 Battery Capacity Tester Module | | Fix Error Reading Volt And Ampere
Published 31 May 2023
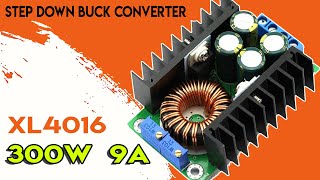
Calibration : Apply USB power and simultaneously press all three buttons to enter the calibration mode and perform the following steps The first calibration step after entering the calibration displays the 0u0A; short connect both positive and negative input terminal and press the "OK" button Next, the display will show J10u; apply 10.00V DC between the input positive and negative terminal and press the "OK" button again. The display will show J2.0A; apply 2.0 A DC current between the input terminals and press the "OK" button to complete the calibration. If the tester determines that the calibration data is reliable, it will in turn show 4 calibration numbers after completing the procedure; otherwise it will ignore the calibration attempt, discard the data and exit the procedure. LIKE | COMMENT | SHARE | SUBSCRIBE === = = = = = = = == = = = == = = = == = = == = = = = == = = = = = = = == = = = = = == ★★ Please like and subscribe ★★ /channel/UCNqYc-ojesF6AbXwiWdZbeg === = = = = = = = == = = = == = = = == = = Amazing Wireless Voltage Detector, Home Made Non Contact Tester /watch/A5vfhoAJs3PJf Top 10 Electronic Project With BC547 Transistor, Tri AC, LDR, LED, Photo Diode /watch/EYeBhz_zrNTzB Automatic Plant Watering System Using Arduino Uno || YL 69 Soil Hygrometer & 5v 1 Channel Relay /watch/wPRnpi-C5lYCn Build your own Wi-Fi Repeater or Range extender using NodeMCU || WDS Bridge ESP8266 /watch/s1=t&ECNpXS7swi0st Wifi share one router to another router without any cable (WDS) /watch/wMZoeRYF79kFo How To Repair Led Light || Fix SMD Led Light || Led Bulb Repair /watch/MKOpQ5INy2lNp ★★=== = = = = = = = ==★★ Contact us for any enquiries : EmailForViewers@gmail.com www.facebook.com/rubel1628 ★★=== = = = = = = = ==★★ #yellowpurple #ZB2L3 #tester === = = = = = = = == = = = == = = = == = =
Category
Show more


Comments - 4
Related videos for How to Calibrate ZB2L3 Battery Capacity Tester Module | | Fix Error Reading Volt And Ampere: